Okay, so let´s go for the technical explanation behind this one because this one is certainly new. I am leaving all the programs and the main guidelines to do it.
But first, we need to talk about parallel universes (Oops,meme alert from SM64)
I mean, we need to talk about adjustments (1st step) and 3d effects applied into a video (2nd step). All of this by using the Photo application that Windows 10 offers so I cannot get more basic than this tool.
The first step is pretty much the same that I follow for most of the edits, adjusting the values as usual. The thing is that I have actually checked the actual numbers that changes the settings with one single edit (I didn´t screencap nor write the values for the first attempt) and what I am showing here has less brightness, contrast and clarity than >>/4633/ because I felt like Nightmare Moon fit more with less lightning, not to mention that it can damage a little bit the eyes in the long term.
So yes, I have had to edit it with the two steps twice (from the starting point) because of the wrong adjustments in it. I will expose from top to bottom what numbers should be applied (not 100% exact but it´s really close) for this step (the program is in Spanish so I am translating them for the explanation):
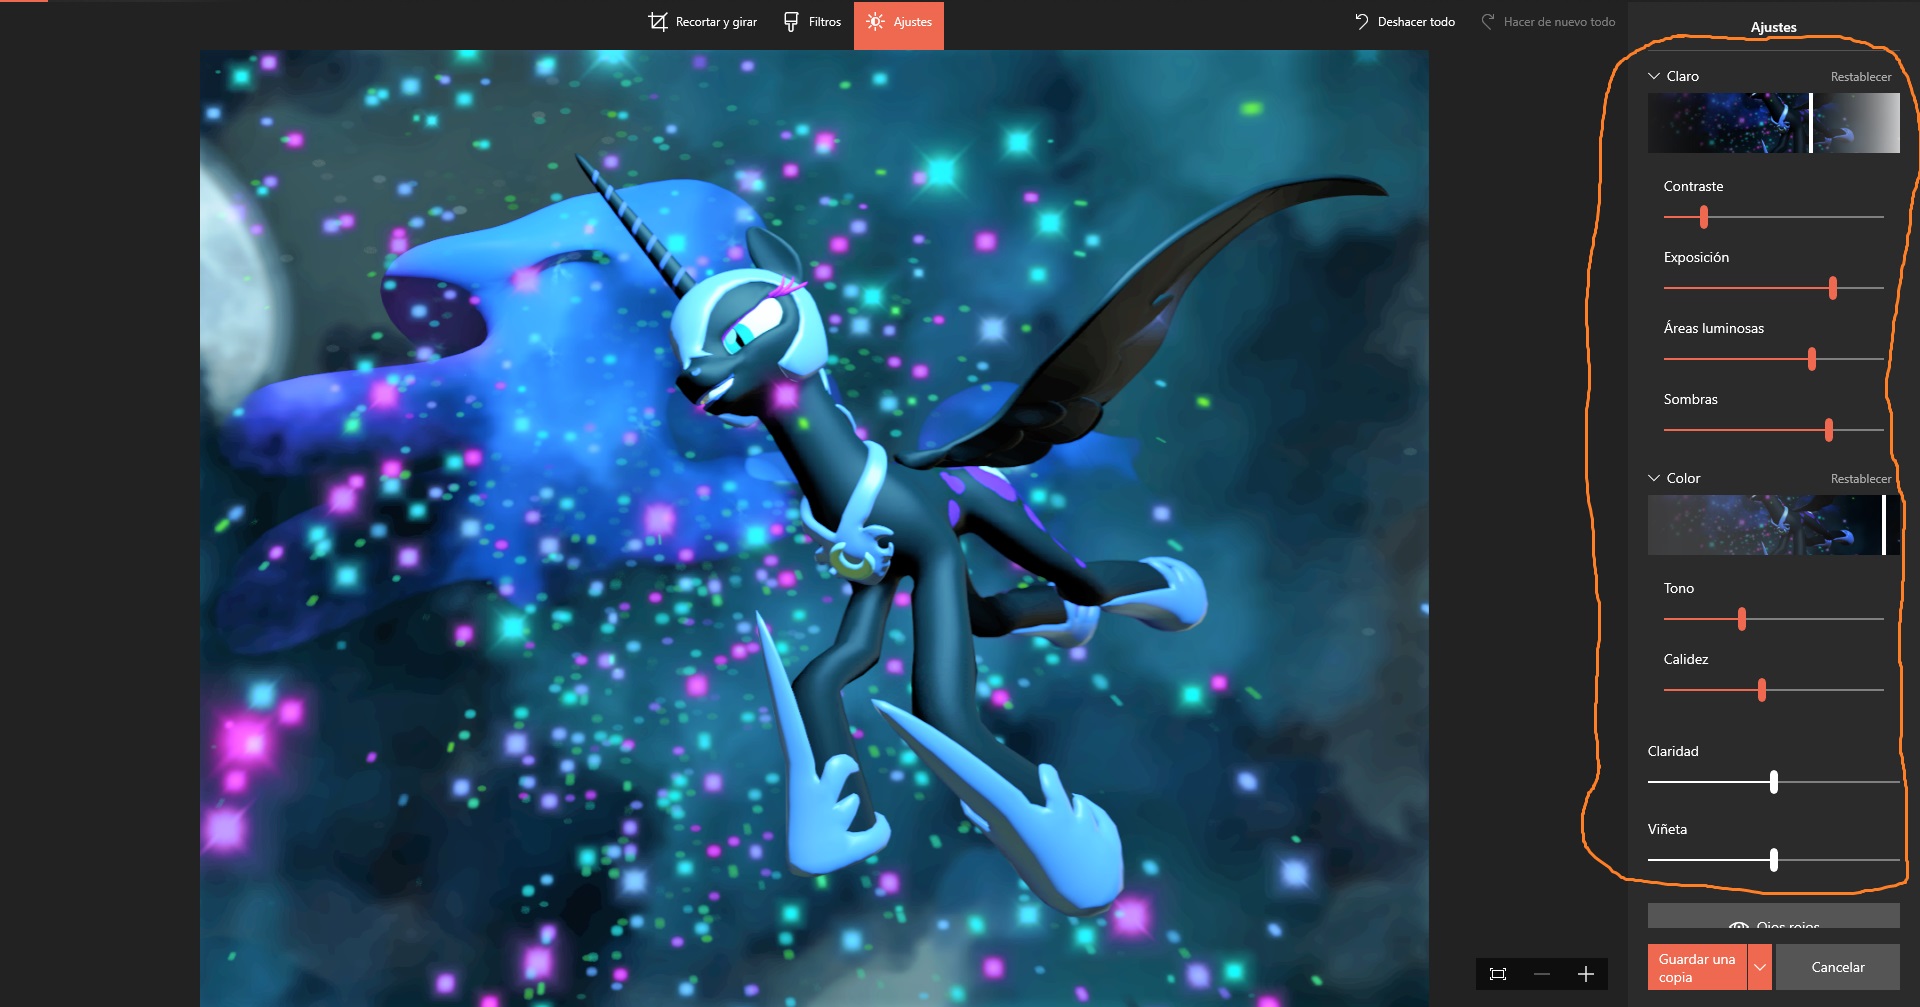
From top to bottom in the screencap (inside the orange circle):
Clear: +32, contrast: -66, exposition: +55, luminous areas: +35, shadows: +50, colour: +83, tone: -37, clarity: 0, vignette: 0.
By cutting the image until you focus simply on her, these values turn this picture from flying to swimming. Only a single layer from the original one so there is no need to go beyond these values and the edit it over the top.
After the first step, we arrive at a checkpoint and I call it: "Base for the video effects". From here, it doesn´t rely on the adjustments for advancing with the intended ambient.